Servidor de correo MailCow
Cómo configurar el servidor de correo MailCow con Docker
Parar Postfix (si está funcionando):
sudo systemctl stop postfix
Deshabilitar Potifix para que no se inicie al arrancar el equipo:
sudo systemctl disable postfix
How to Install Mailcow Mail Server On Ubuntu
0. Configuración básica del DNS
Cambiar 1.2.3.4 por la ip de tu VPS y yourdomain.com por el nombre de tu dominio
# Name              Type       Value
mail                IN A       1.2.3.4 (ip address)
autodiscover        IN CNAME   mail.yourdomain.com
autoconfig          IN CNAME   mail.yourdomain.com
@                   IN MX 10   mail.yourdomain.com
Ejemplo con el DNS de DigitalOcean.com:

1 . Install Docker And Docker-Compose
sudo apt update -y

sudo apt install apt-transport-https ca-certificates curl software-properties-common -y

curl -fsSL https://download.docker.com/linux/ubuntu/gpg | sudo gpg --dearmor -o /usr/share/keyrings/docker-archive-keyring.gpg

echo \
  "deb [arch=amd64 signed-by=/usr/share/keyrings/docker-archive-keyring.gpg] https://download.docker.com/linux/ubuntu \
  $(lsb_release -cs) stable" | sudo tee /etc/apt/sources.list.d/docker.list > /dev/null

sudo apt update -y

sudo apt install docker-ce docker-ce-cli containerd.io -y

sudo docker run hello-world

sudo curl -L "https://github.com/docker/compose/releases/download/1.29.1/docker-compose-$(uname -s)-$(uname -m)" -o /usr/local/bin/docker-compose

sudo chmod +x /usr/local/bin/docker-compose

docker-compose --version
Ejecutar el comando Docker sin sudo (opcional)
sudo usermod -aG docker ${USER}

su - ${USER}

id -nG
2. Install MailCow :-
Cambiar yourdomain.com por el nombre de tu dominio
sudo su
hostnamectl set-hostname mail.yourdomain.com
apt install git -y
cd /opt
git clone https://github.com/mailcow/mailcow-dockerized
cd mailcow-dockerized
./generate_config.sh
Respuestas de la configuración:
Mail server hostname (FQDN) - this is not your mail domain, but your mail servers hostname: mail.alumnoportada.com.es
Timezone [Etc/UTC]: Europe/Madrid
Do you want to disable ClamAV now? [Y/n] Y
Modificar el fichero de configuración de mailcow
nano mailcow.conf
para poner el puerto de https al 4433 (y no tener conflicto con el 443 del servidor nginx)
HTTPS_PORT = 4433
Iniciar la configuración de Docker
# Start the docker setup
docker-compose pull
docker-compose up -d
3. Abrir los puertos requeridos
sudo ufw allow 25,80,443,110,143,465,587,993,995/tcp

sudo ufw allow 4433
4. Acceder a la configuración de mailcow
user: admin
password: moohoo
https://mail.alumnoportada.com.es:4433
(cambiar el usuario y password por defecto al entrar la primera vez)
Añadir dominios en Configuration\Mail Setup

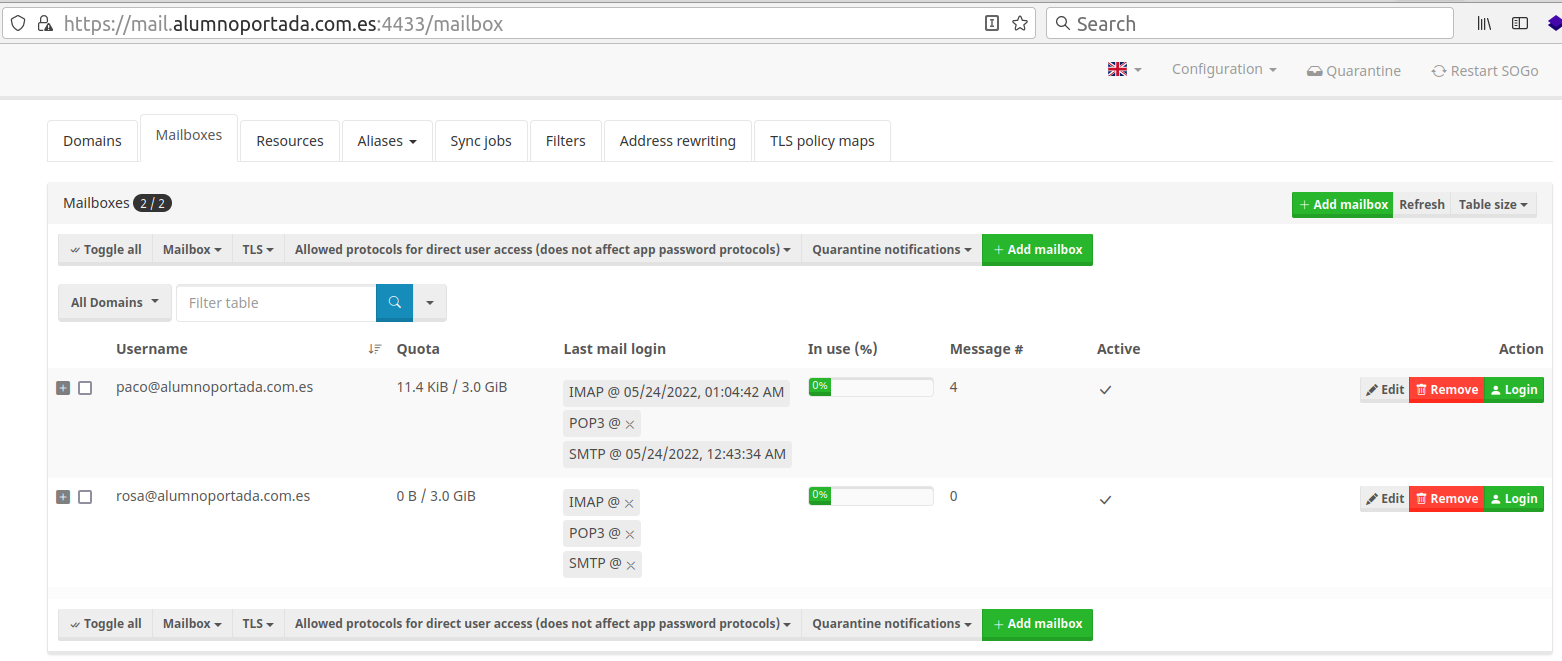
Añadir mailboxes al dominio
5. Configurar el DNS con la clave DKIM y el registro SPF
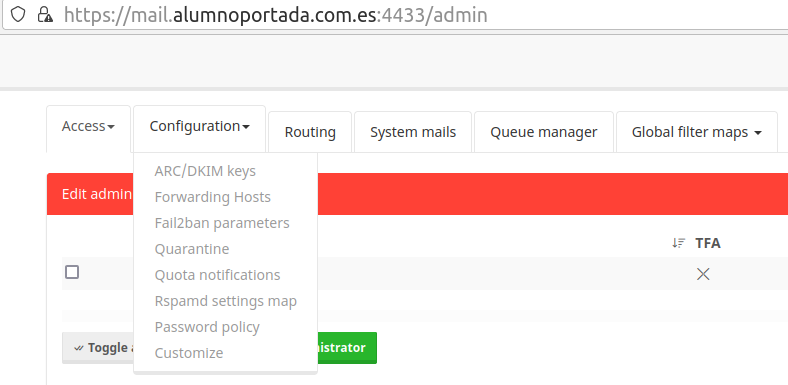
Generar la clave DKIM en Configuration\ARC/DKIM keys
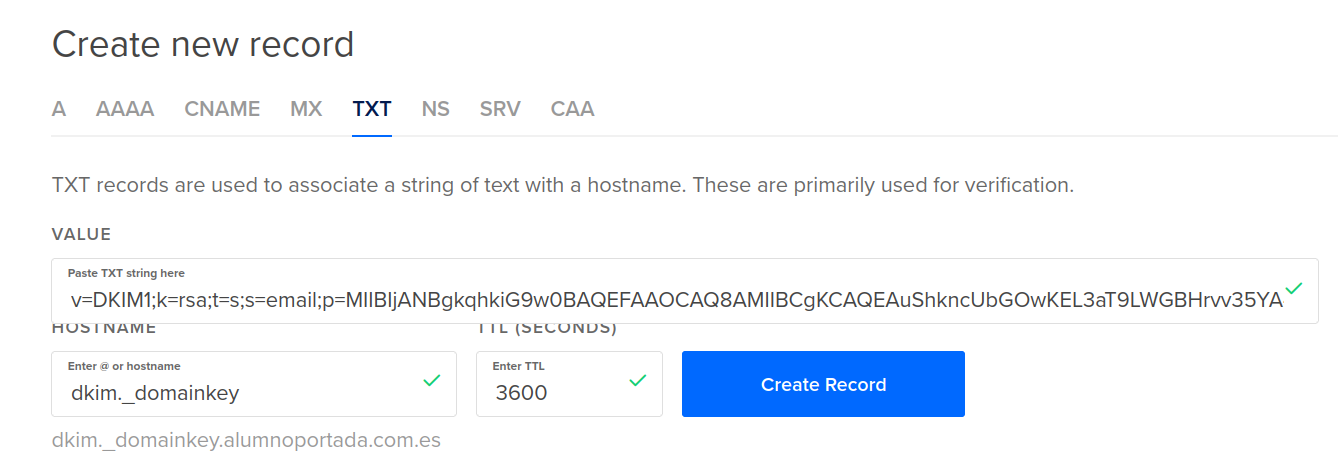
 Crear un nuevo registro de texto DKIM en el DNS con el valor copiado y el host dkim._domainkey
 Crear un nuevo registro de texto SPF en el DNS con el valor «v=spf1 mx a -all» y el host @

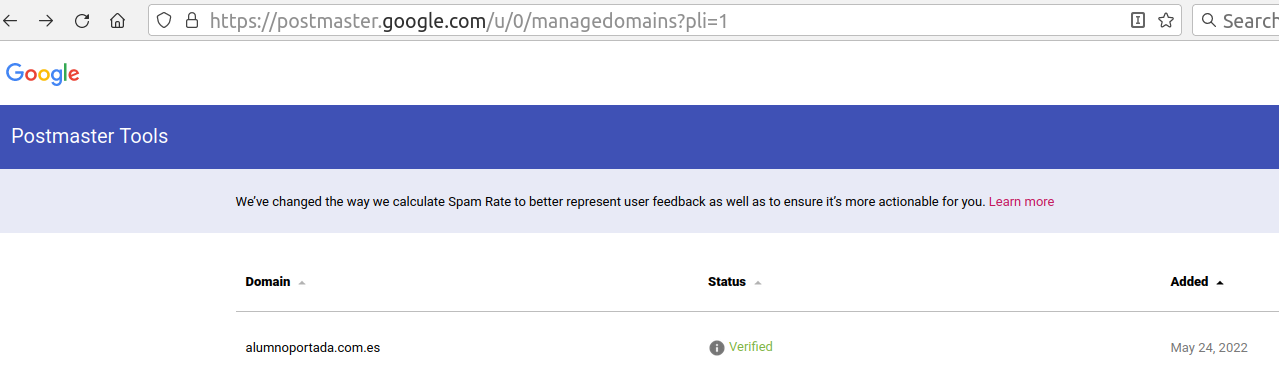
6. Validar con Postmaster Tools en Google el dominio configurado: alumnoportada.com.es
Get started with Postmaster Tools
You can use Postmaster Tools to track data on large volumes of emails sent and find data about your sending domain. You can view different dashboards to understand details like Gmail delivery errors, spam reports, feedback loop, and more.
To use Postmaster Tools, you need to have a Google Account. If you don’t have a Google Account, create one.
Add your domain to Postmaster Tools
- Sign in to Postmaster Tools.
- In the bottom right, click Add
.
- Enter your authentication domain.
Tip: You can add either the DKIM (DomainKeys Identified Mail) domain or the SPF (Sender Policy Framework) domain. - Click Next.
- Verify your domain:
- To prove that you own this domain, click Verify.
Tip: After verification, it may take some time before your domain’s verification status updates to “Verified.” Learn more about how to verify your domain. - To skip this step and continue without verification, click Not now. You will need to verify your domain at some point to view any data related to that domain. To go back and verify, point to the domain you want to verify. Then, click More
Verify domain.
- To prove that you own this domain, click Verify.

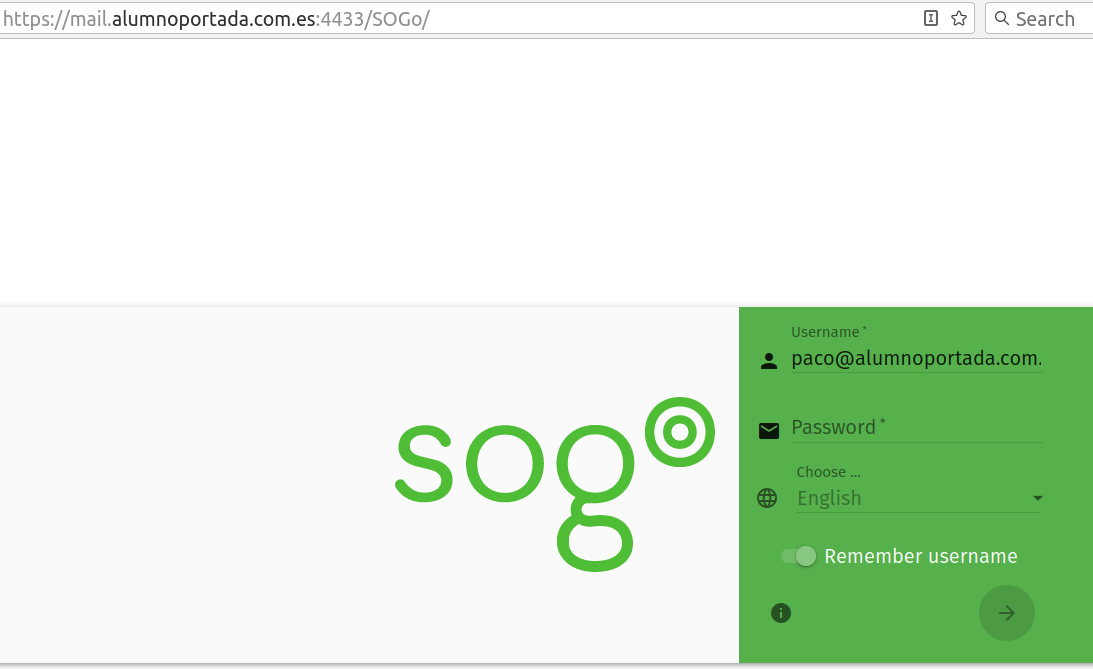
7. . Acceder al webmail para enviar y recibir emails
https://mail.alumnoportada.com.es:4433/SOGo/
8. Parar/Arrancar mailcow
cd /opt/mailcow-dockerized
sudo docker-compose down
Lanzarlo de nuevo
cd /opt/mailcow-dockerize
sudo docker-compose up -d
Más información sobre Docker:
Más información sobre Mailcow:
Setting Your Own Mail Server in 10 Steps
How to Install and Configure Mailcow (Mail Server)
Get started with Postmaster Tools
Deja una respuesta
Lo siento, debes estar conectado para publicar un comentario.